Showing posts with label I made this. Show all posts

Tuesday, 4 April 2017

Diaper clutch and changing mat all in one!


I have a wonderful Phil and Teds Promenade stroller, one that will eventually be able to transform to be able to push two children at once. I love it to bits, but it is pretty big and as I don't drive...yet....Im often getting lifts with people to go places and if we want to go walking anywhere I have to put little one in a carrier, which is fine, but she is getting bigger and heavier and so its not super ideal. So we treated ourselves to a new stroller - the Quinny Yezz - which was on my wish list of baby items! It is super lightweight and goes down soooo small it can be slung over your shoulder like a back pack!


The only issue I had was that it has no parcel shelf underneath or place to hang the ginormous nappy bag us mum's cart everywhere! So I needed something small that I could use to take a few nappies and wipes along with me, and then I can take a small handbag (remember those!?) with toys and purse etc in.  Pattern link after the jump.....

Pin It!

Thursday, 23 April 2015

Sleep mask tutorial and free Pattern

Summer is definitely on its way, and with that comes bright early mornings! I have made a blackout blind for Annabelles room to prevent any unwanted early risings, but haven't made one for our room, and seen as my husband can sleep through anything, I figured I just needed to make it dark for myself, much easier and cheaper than buying/making blackout blinds! So here is a free pattern and photo tutorial for making yourself a sleep mask either to keep those pesky sunbeams at bay first thing in the morning, or to help you sleep on a long haul flight, or for whatever reason you may want a bit of personal darkness. Its a very quick project and I managed to get mine done in an hour and a bit despite having a 6 month old who needs attention! (If you don't have a baby I imagine it will take you much less time!!)


For the free pattern and photo tutorial click "Read more"

Pin It!

Wednesday, 28 January 2015

Easy Baby Teether!

So just recently Annabelle has been a little on he grizzly side and since her friend Jospeh (who is only one month older) cut his first tooth around her age I was beginning to wonder if the dreaded toothy pegs would be cutting through! She seems to like sucking on my cardi and other fabric things so I wanted something that was fabric and hard so it would be good to teeth on and this is what I came up with. Hope you enjoy making it, it only took me about 20minutes.


For the photo tutorial click "read more"

Pin It!

Thursday, 6 March 2014

A winter scarf

Well it really has been a very long time since my last post! The weather has changed a lot and I really hate the cold, makes me very grumpy! I do really like scarves though! I had been noticing a lot if these long loopy eternity scarves people were wearing and thought to myself it can't be that hard can it?? So with a tiny bit of help from a more experienced knitter, I learnt to cable knit (it really is SO easy)! If you want to make this too there is the pattern and equipment list below the photo.


Size needles:10mm
Super chunky wool (just under 3 balls)
And the pattern below:

Cast on 34 stitches
1st row: (right side) k10 P2 k9 p2 k10
2nd row and every following alternate row: p13 k2 p9 k2 p10
3rd row-As first row
5the row- k10 p2 c9b (See below) P2 k10
7th row: as first row
9th row: as first row
11th row: as first row
12th row: as first row
These 12 rows form pattern
Keeping pattern correct throughout, continue until you have the length you need! Then cast off and sew the two ends together.

To cable: (Slip next 4 sts. Onto cable needle and leave at back of work, k5, then k.4 from cable needle)

Pin It!

Saturday, 9 November 2013

Floor blanket for baby

I've wanted to make a small baby blanket/play mat after seeing some really cute chevron fabric in John Lewis, there are so many nice fabrics, I didn’t want to use it up on small projects, but instead I wanted to display it in a large chunk so it could be fully appreciated! I had never done any quilting before this and it was such a good starter project. I didn’t have any cotton batting and didn’t really want to buy a load in case it didn’t work well, but a friend suggested a cheaper solution-thermal curtain lining! I can get it for £4.50 a metre in John Lewis and it’s really wide as it is used to curtains, so it works out really rather reasonable. They grey fabric I used came from a double bed sheet that had a tear in it and couldn’t be fixed, so good up-cycling there! I made a paper pattern of the size I wanted and then divided it up with a pencil until I was satisfied with the division. I then cut along the lines I'd made and used the paper as my pattern pieces, adding 1cm when I cut out the fabric. then I simply stitched them together. Once I had made my back and front, they had to be “basted to the batting” (batting is the filler that goes in the middle, you can get 100% or polyester and you can get it different thicknesses depending on what you need) . There are several ways that you can baste (which basically means temporarily joining the fabrics together so that you can stitch them on the machine without them moving)
1. Basting by hand-hand stitching the layers together in big stitches to stop the layers shifting around when you stitch
2. Basting spray-Spray on quilting adhesive that sticks the layers together and doesn’t affect the finished look or feel of the fabric (this seems to be the most popular and easiest)
3. Quilting safety pins-(they look like normal pins but have a kink in them, although I used normal ones and they worked fine) joins the fabrics together and can be removed as you sew.
I decided to use the safety pin method as I was in a hurry (like usual!) and didn’t want to spend ages hand sewing. I used the walking foot (good tutorial here: Anyone Can Quilt) to stitch the layers together, I didn’t do anything fancy, just straight lines so as the stitching didn’t distract from the fabric patterns. I thought I had to use bias binding to bind the edges of the quilt and really wasn’t looking forward to it as I’m hopeless at getting the binding to sit equal on the edge of fabrics-BUT hope was at hand! I found this amazing photo tutorial from Old Red Barn Co and Diary of a Quilter that shows how to bind a quilt using strips of fabric. It means you can make your binding out of whatever you like, make it matching if you need, and it’s much easier to get it equal and professional looking. You do half of it on the machine and the other half hand stitching, but its really vey quick and easy, so don't be put off! One thing i'll say is, that I found the more lines I added the stiffer the blanket got, so now it is definitely more suitable for the floor and not so much for wrapping a child in, I’d like to try and make a more flexible one in the future, and might try some free machining,  so watch this space!


Here you can see the full blanket and how I divided up the strips of fabric, with the grey in between. I had originally bound the blanket in yellow, but it looked horrible, and so I ordered the aqua green fabric from e-bay. It's not 100% cotton, which is a shame, but the colour was perfect and I was in  a hurry to get it done to be honest!


This picture shows how I bound the corners, and also shows a bit of my straight (ish!) stitching across the blanket.

Pin It!

Monday, 13 August 2012

It's a boy!

Yay! It's a boy! I have finally made my beautiful bouncing baby boy....Rhino! It's taken me, all told, probably only a long afternoon. I have had it on my mind to make one ever since finishing my aardvark, I wanted to make him super chunky and about ready to playfully charge at any moment! I have made the pattern myself completely from scratch and Reggie (Hubby chose the name) is made from a super soft powder blue jersey. His tummy and feet are made from a striped polycotton and he has felt to reinforce his ears to make them stick up, plus PVC pellets to give him some weight in those stumpy legs of his. His legs have been attached with covered buttons that I also made to match his tummy. He is so dumpy and cute and I just love him to bits!!!

Reggie the Rhino (named by my hubby) ready to stomp, charge and rumble around in the garden.


Reggie and Milliepops the aardvark, my first cuddly.

Pin It!

Friday, 10 August 2012

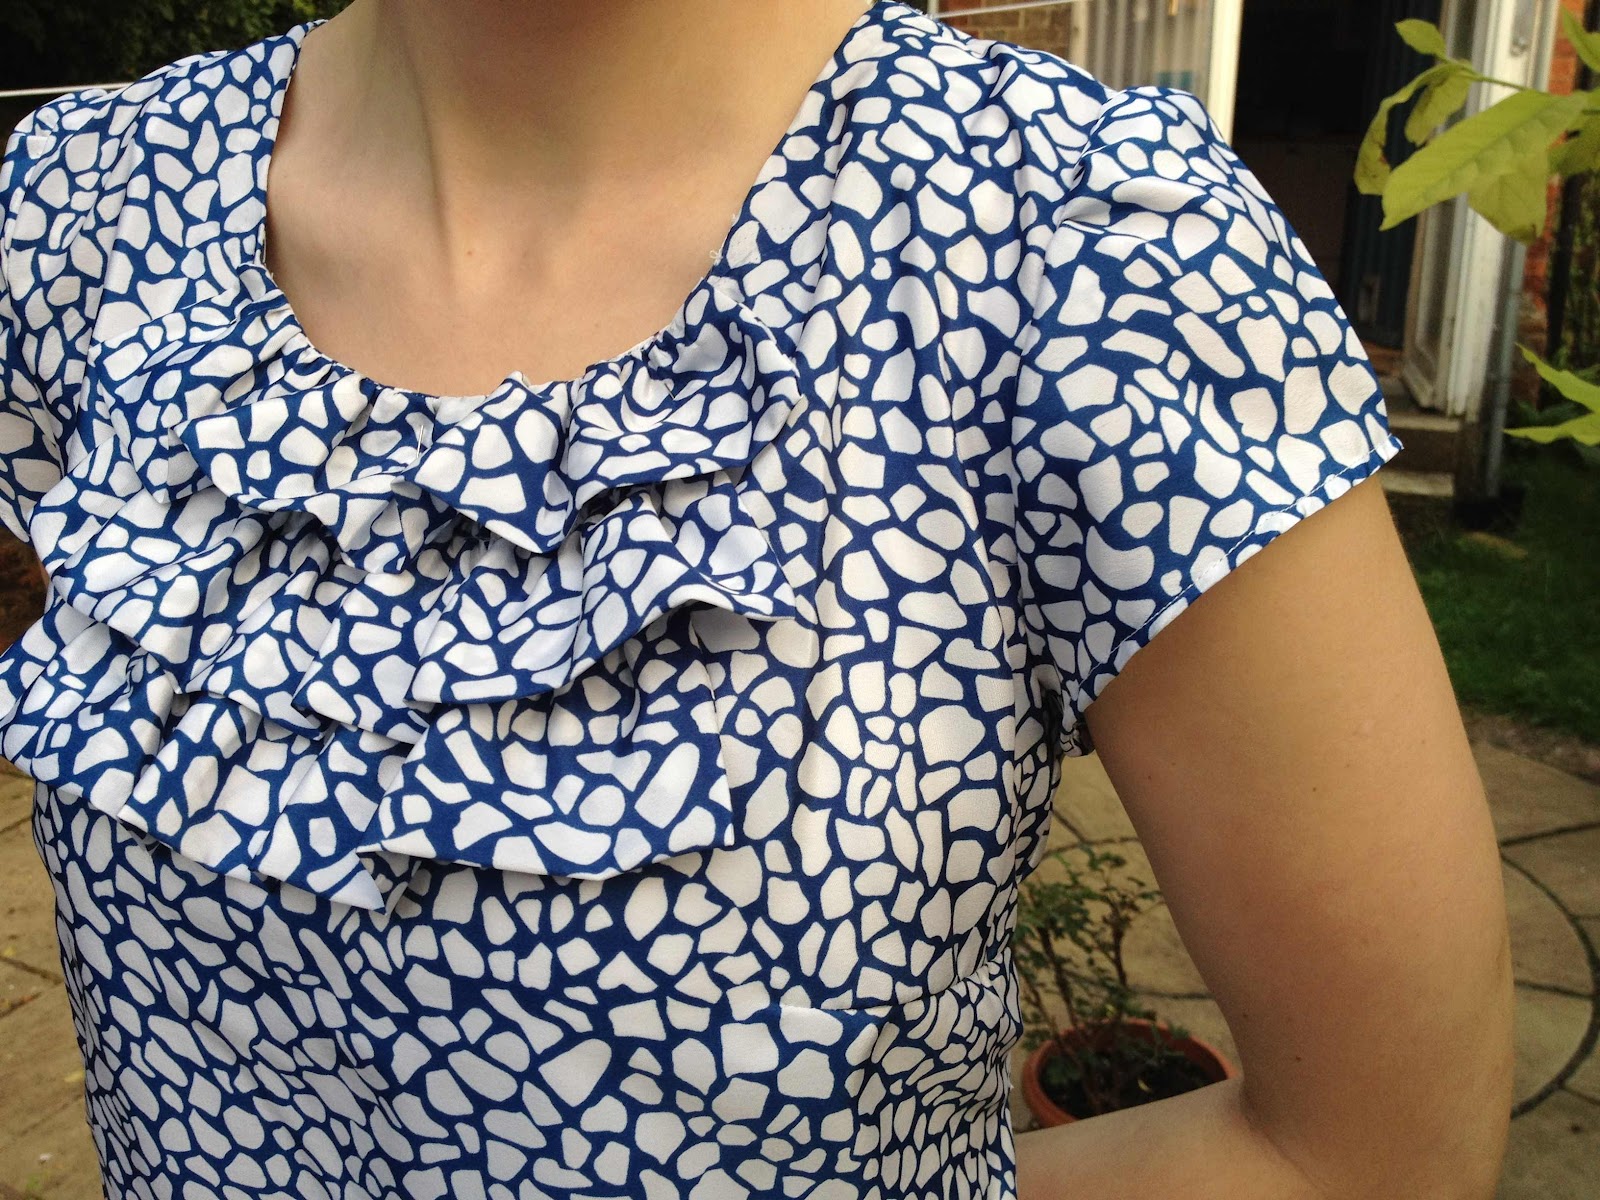
New top-from simplicity pattern

Just before we went away I ordered a new pattern for some really simple tops. It's one basic blouse pattern with different ways of decorating them. I have two tops in mind, a combination of the yellow top but with sleeves in white and blue print and then the orange top C in a dark blue seersucker. Ill let you know how I get on.
Started just after lunch and was finished before dinner time! Can't believe it! Im so happy with how it came out. I decided to cut out the size 12 pattern, because let's face it I'm not going to get any smaller! However the 12 was very generous and so I have taken it in at the side, also at the back and didn't bother with the button closure as it its right over my head anyway.  Very very pleased with myself.


Pin It!

Attempting stripes and re-upholstry!

We have just completed changing our front top room from a storage room into a bedroom for guests and a crafty room for me, 2 years since moving in! We had some wicker furniture my In laws had given us when we moved in and we wanted to re-upholster it to match the look of the new room (blue, white and wood) the furniture is in great nick, but the original fabric was out of date and made the room feel dark, so when we were in the lake district we came across this fabric shop called Textures in Keswick. they had some really nice blue and red ticking that we thought would go great in the new room. so when we got home, I drew around the old cushions and cut out some paper patterns, and made new covers. The bottom cushion was the hardest trying the get the band not to go squiffy round the cushion etc. I also had to make sure for the sake of my very symmetric loving husband that all the stripes lined up (nightmare!) BUT I managed it, so it looks great from the front...(and no I am not showing you the back!!! It's at the back for a reason!) Here are the before and after shots.

Pin It!

Upcycled mens shirt

Saw this idea on another blog Cotton and Curls (I have already done something like this that I wore at uni-Will try and dig it out at some point to show you) I bought a mens shirt from a charity shop, cut off the arms, laid out an existing tank top over the shirt and cut round it, being a little generous to take into account seam allowance etc. I unpicked the collar and kept the part that the actual collar is sewn to before it attached to the rest of the shirt and fashioned my own small collar. Clipped the corners when making the arm holes to ensure they laid flat. I'm pretty pleased with the outcome, it's perfect for a relaxed summer day (which we are quite lacking at the mo in England!)


Pin It!

Saturday, 4 August 2012

Holiday!


 Last weekend we had a wedding up in Scotland so we decided to make a holiday of it, and do some walking and camping in the Lake District on the way back. Look who came along in her new wooly jumper to keep her warm!


Pin It!

Wednesday, 18 July 2012

DCI-padded covered books

We had our hird Dream Create Inspire craft morning lat saturday and we had 12 people come! we were all making the padded notes books inspired by the Mollie Makes post a while back. They turned out really well and everyone was pleased with the results. pictures will follow shortly. Here is mine.....

Pin It!

Nellies new summer outfit!

Summer, should be around the corner and so I decided that Nellie would need some new clothes so that she can keep cool, and enjoy the sunshine! I used some shirt wheight denim for the shorts and a light wheight cotton for the top, these were made from off cuts from a secret project which I can't publish yet......watch this space!


Pin It!

Friday, 29 June 2012

How to make elderflower cordial


After getting in after a busy day at school yesterday and realising I had a very busy weekend ahead of me, I decided that there was no time like the present and I had better get on and make my elderflower cordial otherwise all the flowers may be gone by the weekend and the heavey rain we have been forcast. So out I went and collected the flowers and decided to blog it so that you can have a go too. It is so so easy and straightforward and so satisfying once it's done. A delicious drink for the summer, and extra bottles can be frozen and used at a later date.
These are the ingredients you will need. Three (yes three!) bags of sugar, 62g of citric acid, which you can get from either a chemist or behind the customer service counter in Wilkinsons!

First you need to collect the elderflower, try not to pick anything too close to the road as it can collect the fumes etc Cut the heads off so all the stalks that make the flower are still intact otherwise you end up with lots of bits.
You will need one full carrier bag. 
Put all the sugar and citric acid into a bucket-any will do so long as it is clean.
Add 6 pints of water and give it a good stir.
Nest, tip in all the flowers, don't worry about the bugs and bits, we will strain them out later.
Give it a good stir, and squash it all down.
Then cover it over and leave it for 24 hours to soak, stirring occcasionally. Try to scoop up all the suagr etc that may settle at the bottom.
After 24 hours, scoop out all the gunk into another container (or if  you have one, get another clean bucket) Don't get rid of the gunky flowers, they will be squeezed later.
Here is the gunky flowers, you can squeese these out into the container with the juice in and then chuck them away.


Right, this is my makeshift strainer, find one old tea towel, preferably one used to polish glass....that type. Put the tea towel into a seive and then rest the seive over the bucket. then using a jug you can scoop out the liquid and pour it through your makeshift strainer. You may need to remove a build up of flowers every now and then to keep it flowing.
Here some of the finished golden liquid!
Finally you can bottle it up.
TA DA!!! It usually makes around 3 1/2 litres.
Have a go and let me know how you get on!

Pin It!

Friday, 22 June 2012

My Little mousey!


I just couldn't resist making one of the little mice from Mollie Makes. I downloaded the pattern, but it doesn't come with instructions so I have had to work out how to put it together and I have to say I am very pleased with the result! I was intrigued to see that they suggested that you back the fabric with a thin iron on interfacing, it made the fabric easier to work with, especially as I was hand stitching (which I love doing!). I'm sure more mice will be moving in soon.....


Cutting out the pattern pieces.


Carefully handwashing the fabrics for her dress...couldn't decide which fabric to use!

Finished mousey and little handmade pinifore

Finished mouse! We decided to name her nellie....due to her large ears. I will put a little tuck in them next time to stop them looking so huge!


Pin It!

Monday, 18 June 2012

Dream Create Inspire craft morning-Cushions

This saturday, I met with 3 friends in a side room at church for our 3rd DCI (Dream  create inspire) craft morning. We meet in a side room at church and have a line of tables down the middle, anyone who has one brings a sewing machine, music on kettle boiling, and then we start making stuff! Our project this morning was to make cushion covers as after session 1 and 2 people decided they needed more practice sewing in straight lines! I showed the gilrs how to make a very basic paper pattern (not at all the proffesional way-but quick and simple) and then we cracked on making our covers. Below are some pictures of us working and then everybodys finished cushions! Usually there is more of us, but people are away at the mo.....
Hannah's V&A cushion, a makeover for the orginal red one.
Kerries Finished cushion made using swatches sent from John lewis, so it now matches her lounge!

Pin It!