Wednesday, 17 July 2013

Envelope needle case tutorial

The other day on Pinterest I was looking for a small sewing project to do with the girls from DCI (Dream Create Inspire craft group I teach at) and I came across this super cute needle case in the style of an envelope. I searched high and low for the tutorial but I couldn't find one so I thought I would have a go myself. This is my first tutorial so please bare with me! The photography isn't amazing and artistic, It's just done on my Iphone so apologies for that! If you find anything confusing or unclear, please write a comment at the bottom of this post and ill try and rectify it for you! Any feedback is appreciated!

Equipment and materials:
  • Medium weight Interfacing
  • Felt
  • Plain fabric
  • Patterned fabric
  • Pinking Shears
  • 1 Press stud/ Popper 

Firstly you need to download the pattern for the envelope from here, the template in the pictures doesn't have the seam allowance added on but the download will. You need to cut out one patterned piece for the inside and one plain colour for the outside.

You also need to cut one out of a medium weight interfacing. I like to use the iron on sort as it doesn't slip about! this will be used to stiffen the case and give it better structure. 

So you should have 3 bits all cut out now the same, one plain, for the outside, one patterned for the inside, and one piece of interfacing. Next Iron on the interfacing to the plain piece as this is reinforce the fabric for stitching the address. If you don't have iron on stuff, just leave it till later or pin it to the plain piece.

Next thing to do is to sew the lines of "address" on the front of the envelope, which is the plain fabric. I worked this out by folding up the envelope and working out roughly where it would go. Make sure you have the template up the correct way!! I just used straight stitch but if you had the time and inclination you could hand sew an actual address or someones name on it if you liked!

Now for the stamp, I cut out a piece of felt, using pinking shears to get the zig-zag effect and positioned it using the folded template again. Remember you have 1cm seam allowance around the edge, so don't go up to far into the corner. Stitch that down with straight stitch then you could sew  a button on, or embroider a little motif, I used a small piece of fabric (with a little dog on) and bondawebbed it on then stitched around it again (see end photos)

Now to cut out the felt pages for the inside of the booklet, again I just folded the flaps of the template in and then cut out a rectangle about 1.5cm smaller than the folded template.

Fold the felt to find out where the middle is and then using straight stitch just sew it straight down the middle.

Now to sew it altogether! so....you need to put the right sides together, so the side with the pages needs to be touching the side with the sewn on address and stamp. Interfacing, if you haven't ironed it on just needs to go on top of either side, it doesn't matter.

Stitch all the way around the outside of the needle case, keeping your 1cm away from the edge. DON'T SEW IT ALL UP! Remember to leave a gap on one of the long sides so you can turn it inside out. Before you turn it you need to remove the bulk from the corners to make it flatter when you turn it out. Cut diagonally across outward points, and cut triangles into the inward points. See the picture above.

When you have turned it inside out, use something pointy to point all the corners out, and then iron it. The open gap you have left can now be turned in, and then when you top stitch all the way round on the very edge, this should be sewn in too. If it isn't just use a needle and thread to slip stitch it shut.

All that's left to do now is to stitch in your poppers (or press studs, whatever you call them!), It doesn't really matter which way you do them, but they need to go onto the top and bottom flaps, not the side. i like to to the pointy one on the top so it can press down into the one with a hole in it. I should of used white thread here, but I was rushing to the end, I'm sure you will do a much better job!

So here is the finished one! You can see the little doggy I Bondawebed  and then stitched on. A little squiffy, but not too bad.

Here it is closed, for some reason my machine did a funny lump of thread where I started and stopped, and the point at the top of the envelope wouldn't fold in and so it looks a little shabby I'm ashamed to say (not like the amazing polished tutorials you get on other sites!!)
And here it is Half open so you can see how to fold it up!
 I hope that is pretty clear-if not-write a comment and Ill answer ASAP. O and I'd love to see your results if you have a go! ENJOY!

Pin It!

Friday, 21 June 2013

Made By Rae Itty bitty dress

It has been a long time since I last posted anything, due to so much work at school and plus we are moving house!  So our life is slowly being packed into brown boxes, ready to be moved but school if on the wind down, so I have been getting crafty again!  My sister bought me a 30cm remnant of fabric (amy butler I think) and I used a pattern I found from  Made By Rae, the site also has a tutorial that is beautifully photographed and super easy to follow. I also used my own homemade bias binding, using the printable bias binding maker from The Scientific Seamstress, (I know!! Amazing! it works like a dream!)  I think next time I will use the 1" binding one rather than the 0.5 as it was a bit small and made it quite bulky on the little dress.


I also learnt to Crochet! One of my ex GCSE students, popped back in on her exam leave to teach me the basics. I can knit quite well, but crochet just blew my mind with all the abbreviations etc. Anyway-the myth has been busted and with her guidance I have picked it up quite well. (Even if I do say so myself!) There are hundreds of tutorials on You-tube to show you any of the different stiches you need. It is so quick and fun once you get going, you can really see the thing you are making take shape. Icouldn't  help but make some matching shoes to go with the new dress I had made. I used a free pattern for mary Janes from Ravelry and I used a size 3.5mm crochet hook and Rowan hand knit cotton in cream, its very smooth, nit fluffy and doesn't stretch which helps! I only bought a 50g ball and I've made two pairs of shoes (more photos to come) and have enough for another pair too! 


Pin It!

Tuesday, 21 May 2013

Nellies brother arrives

I finally made Nellie a brother! So meet Ernie (Ernest) who has so far two new tops one of which is his very own rugby shirt from and up cycled (or down cycled!) t-shirt.

Pin It!

Monday, 13 August 2012

It's a boy!

Yay! It's a boy! I have finally made my beautiful bouncing baby boy....Rhino! It's taken me, all told, probably only a long afternoon. I have had it on my mind to make one ever since finishing my aardvark, I wanted to make him super chunky and about ready to playfully charge at any moment! I have made the pattern myself completely from scratch and Reggie (Hubby chose the name) is made from a super soft powder blue jersey. His tummy and feet are made from a striped polycotton and he has felt to reinforce his ears to make them stick up, plus PVC pellets to give him some weight in those stumpy legs of his. His legs have been attached with covered buttons that I also made to match his tummy. He is so dumpy and cute and I just love him to bits!!!

Reggie the Rhino (named by my hubby) ready to stomp, charge and rumble around in the garden.


Reggie and Milliepops the aardvark, my first cuddly.

Pin It!

Friday, 10 August 2012

New top-from simplicity pattern

Just before we went away I ordered a new pattern for some really simple tops. It's one basic blouse pattern with different ways of decorating them. I have two tops in mind, a combination of the yellow top but with sleeves in white and blue print and then the orange top C in a dark blue seersucker. Ill let you know how I get on.
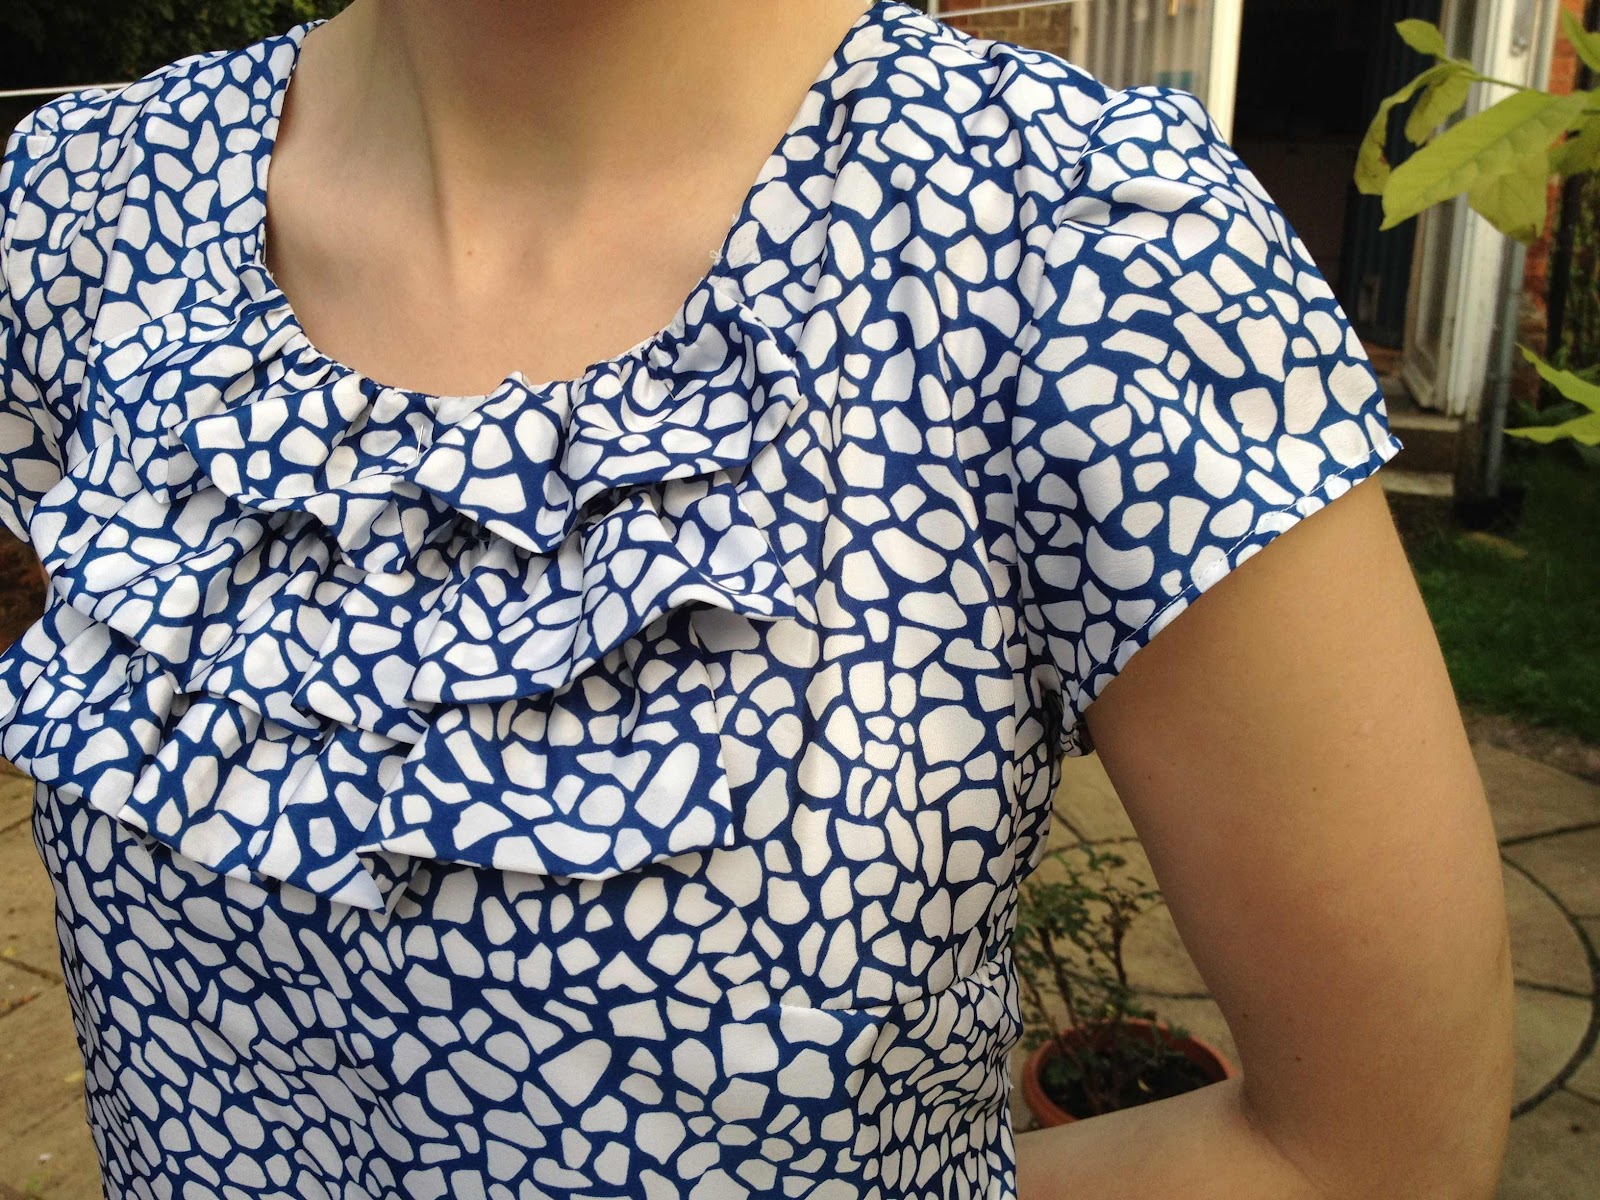
Started just after lunch and was finished before dinner time! Can't believe it! Im so happy with how it came out. I decided to cut out the size 12 pattern, because let's face it I'm not going to get any smaller! However the 12 was very generous and so I have taken it in at the side, also at the back and didn't bother with the button closure as it its right over my head anyway.  Very very pleased with myself.


Pin It!

Attempting stripes and re-upholstry!

We have just completed changing our front top room from a storage room into a bedroom for guests and a crafty room for me, 2 years since moving in! We had some wicker furniture my In laws had given us when we moved in and we wanted to re-upholster it to match the look of the new room (blue, white and wood) the furniture is in great nick, but the original fabric was out of date and made the room feel dark, so when we were in the lake district we came across this fabric shop called Textures in Keswick. they had some really nice blue and red ticking that we thought would go great in the new room. so when we got home, I drew around the old cushions and cut out some paper patterns, and made new covers. The bottom cushion was the hardest trying the get the band not to go squiffy round the cushion etc. I also had to make sure for the sake of my very symmetric loving husband that all the stripes lined up (nightmare!) BUT I managed it, so it looks great from the front...(and no I am not showing you the back!!! It's at the back for a reason!) Here are the before and after shots.

Pin It!

Upcycled mens shirt

Saw this idea on another blog Cotton and Curls (I have already done something like this that I wore at uni-Will try and dig it out at some point to show you) I bought a mens shirt from a charity shop, cut off the arms, laid out an existing tank top over the shirt and cut round it, being a little generous to take into account seam allowance etc. I unpicked the collar and kept the part that the actual collar is sewn to before it attached to the rest of the shirt and fashioned my own small collar. Clipped the corners when making the arm holes to ensure they laid flat. I'm pretty pleased with the outcome, it's perfect for a relaxed summer day (which we are quite lacking at the mo in England!)


Pin It!