Today Im going to show you how to make these super cool and easy customised envelopes!
You can different use contrasting papers for the linings to make them as jazzy as you like. I made these for a series of letters that I wrote to my husband for one anniversary present.
You will need:
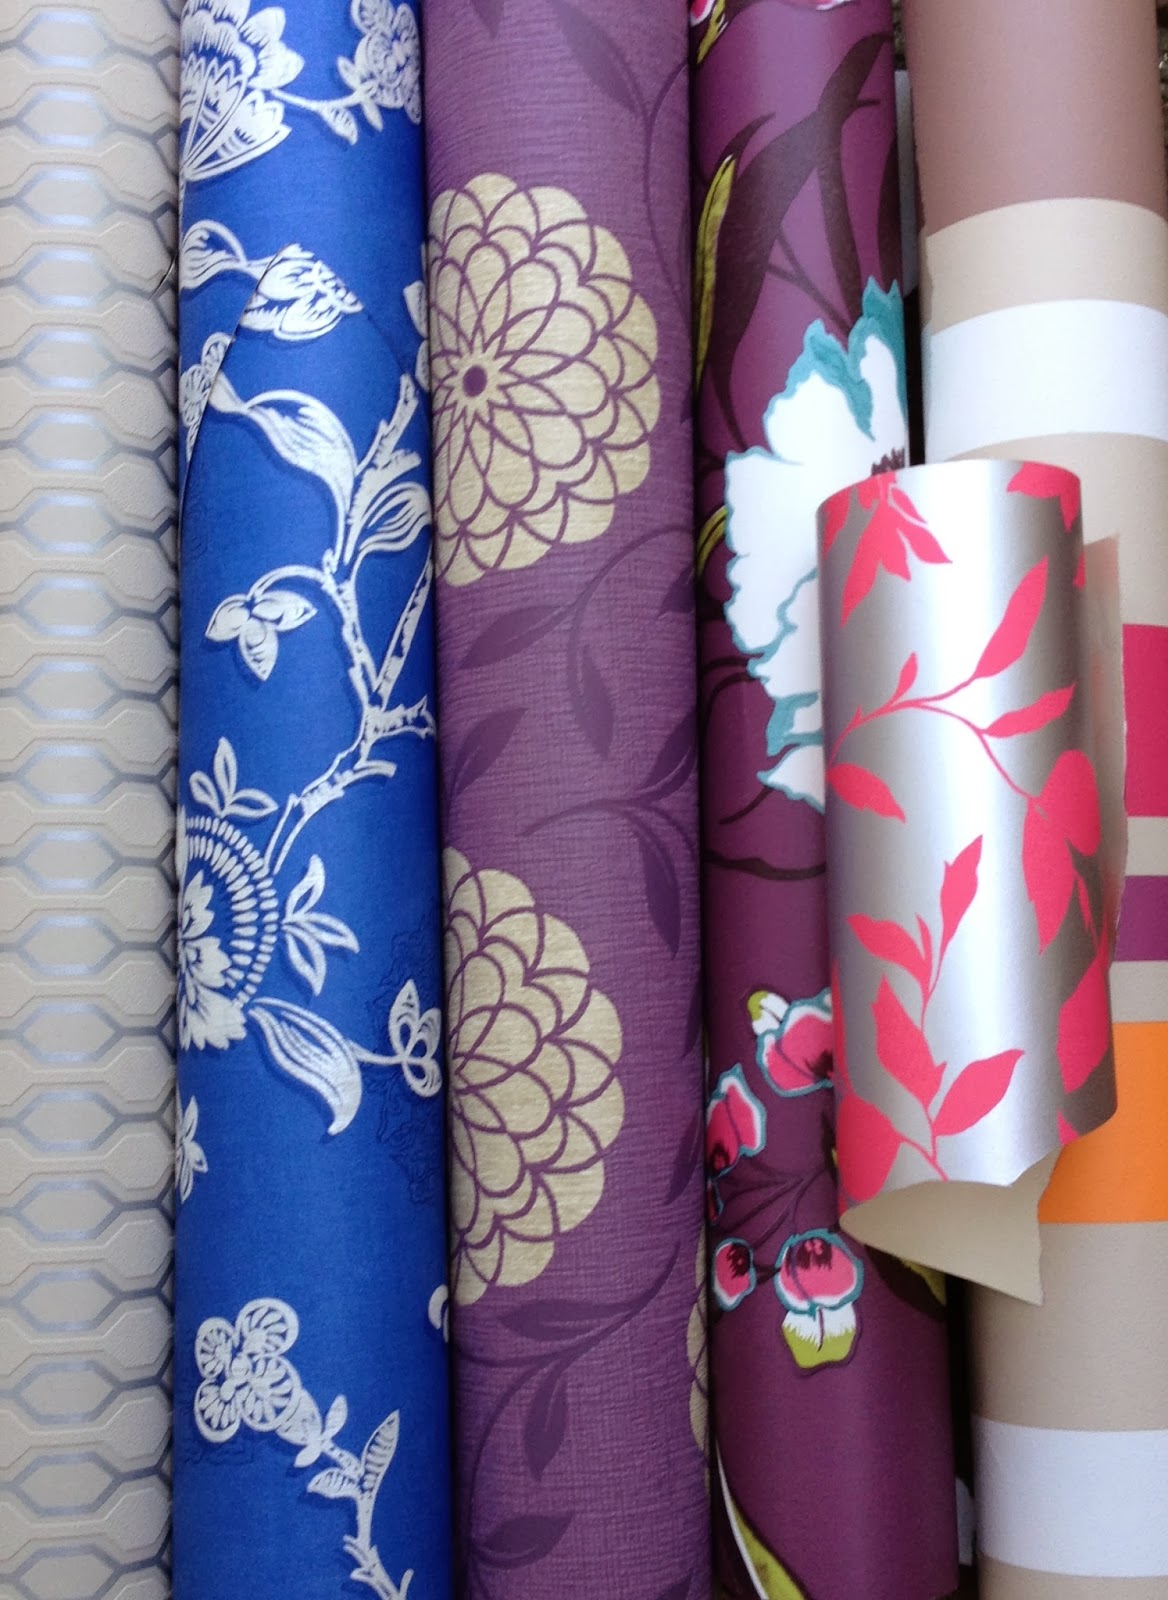
- Nice patterned paper, I have been collecting wall papers samples for various projects and so made use of those. But you could use crafting paper too.
- An envelope the size that you want your final envelopes to be
- Scissors
- Pencil
- Ruler
- Glue
- Scalpel is always helpful
First you need to carefully undo the envelope you are using as a template, and then lay it out on the blank side of your paper. At this stage you may need to think about where the pattern is going to be on the envelope, for example some of my wallpaper had big flowers on and I wanted them to be on the front of the envelope when it was made up, so I had o make sure that my template was positioned correctly.
Draw round the template carefully, including any little pinches in that help form the shape of the envelope.
Cut around the pencil line with a scalpel and ruler if you have one, if not, scissors will do.
Now you can fold up the envelope, look at your original to see how the paper folds. I found it helpful to place a rule along the line I was supposed to fold, and crease the paper over the ruler makes it nice and crisp.
To do the lining I have used normal lined paper here, refold up your template envelope, and then you want to draw around the outside of just the flap and down both the sides of the envelope. make sure that the shape you draw goes below the downwards V of the envelope pocket, so when its opened you can't see where the lining ends.
Carefully cut out the lining paper 1-2cm in from the original line that you drew, this means there will be a nice clear border between the lining and the edge of the envelope an makes it look more fancy!
Using a glue stick (I don't recommend wet glues as they can sometimes make the paper wrinkle) Glue in the lining and then fold up the envelop and glue the bottom most flap onto the two side flaps. VOILA! Now you have a snazzy customised envelope!


Nice information shared with us. Blank, plain envelopes and without any print blank envelope from PrintMagic do not have to look boring. They can be played with paper stock options like choosing between White Premium Opaque - 70 lb., White Linen Uncoated - 70 lb. and also Self seal Security Strip Uncoated - 60 lb. You can even add a window to your blank envelopes so that the recipient's name and address are visible. With regards to the flap style, you can even customize that. If you want to add a window in different sizes and locations and also have a different shape to the flap, you can fill the custom envelope printing quote form here. Our PrintMagic team of experts will also create one for you based on the requirements.
ReplyDeleteGreat tutorial — thanks for sharing! From a B2B standpoint, the take-away about unique paper and pattern choices is spot on for creating standout custom envelopes— ideal for promotional mailers, branded event invites, or premium client communications.
ReplyDelete