


As people have requested a template for these christmas stockings, I have made two different sizes, 1 large and one small you can down load the Large stocking template here and the smaller stocking template here. I have also done a photo tutorial ( Click "read more") so you can make one too!
You will need:
- Sewing machine
- Fabric scisors
- Trimmings like ribbon, rick rack, buttons etc
- Patterns printed out (see above)
- Christmassy fabric (about 1/2 a metre)
- Bondaweb (not essential but I love it!)


After you have downloaded and stuck all of the templates together, you will need to pin them onto the fabric of your choice. I have folded my fabric over so that I can get two at once. Make sure that either both right sides are facing or both wrong side are facing when you cut this out though otherwise you will end up with two fronts, or two backs!

You don't have to add a cuff if you don't want to -but if you do:
For the small stocking, trace out the pattern piece from the down loaded document.
For the Large one you will need to draw the pattern piece yourself. To do this the pattern piece should be a trapezium shape (see above), The shorter of the the two long sides needs to be as long as the top of your stocking, and then just diagonally expand the lines out until a suitable depth for your cuff. don't forget to add in a couple of cms the hem and seam allowance.
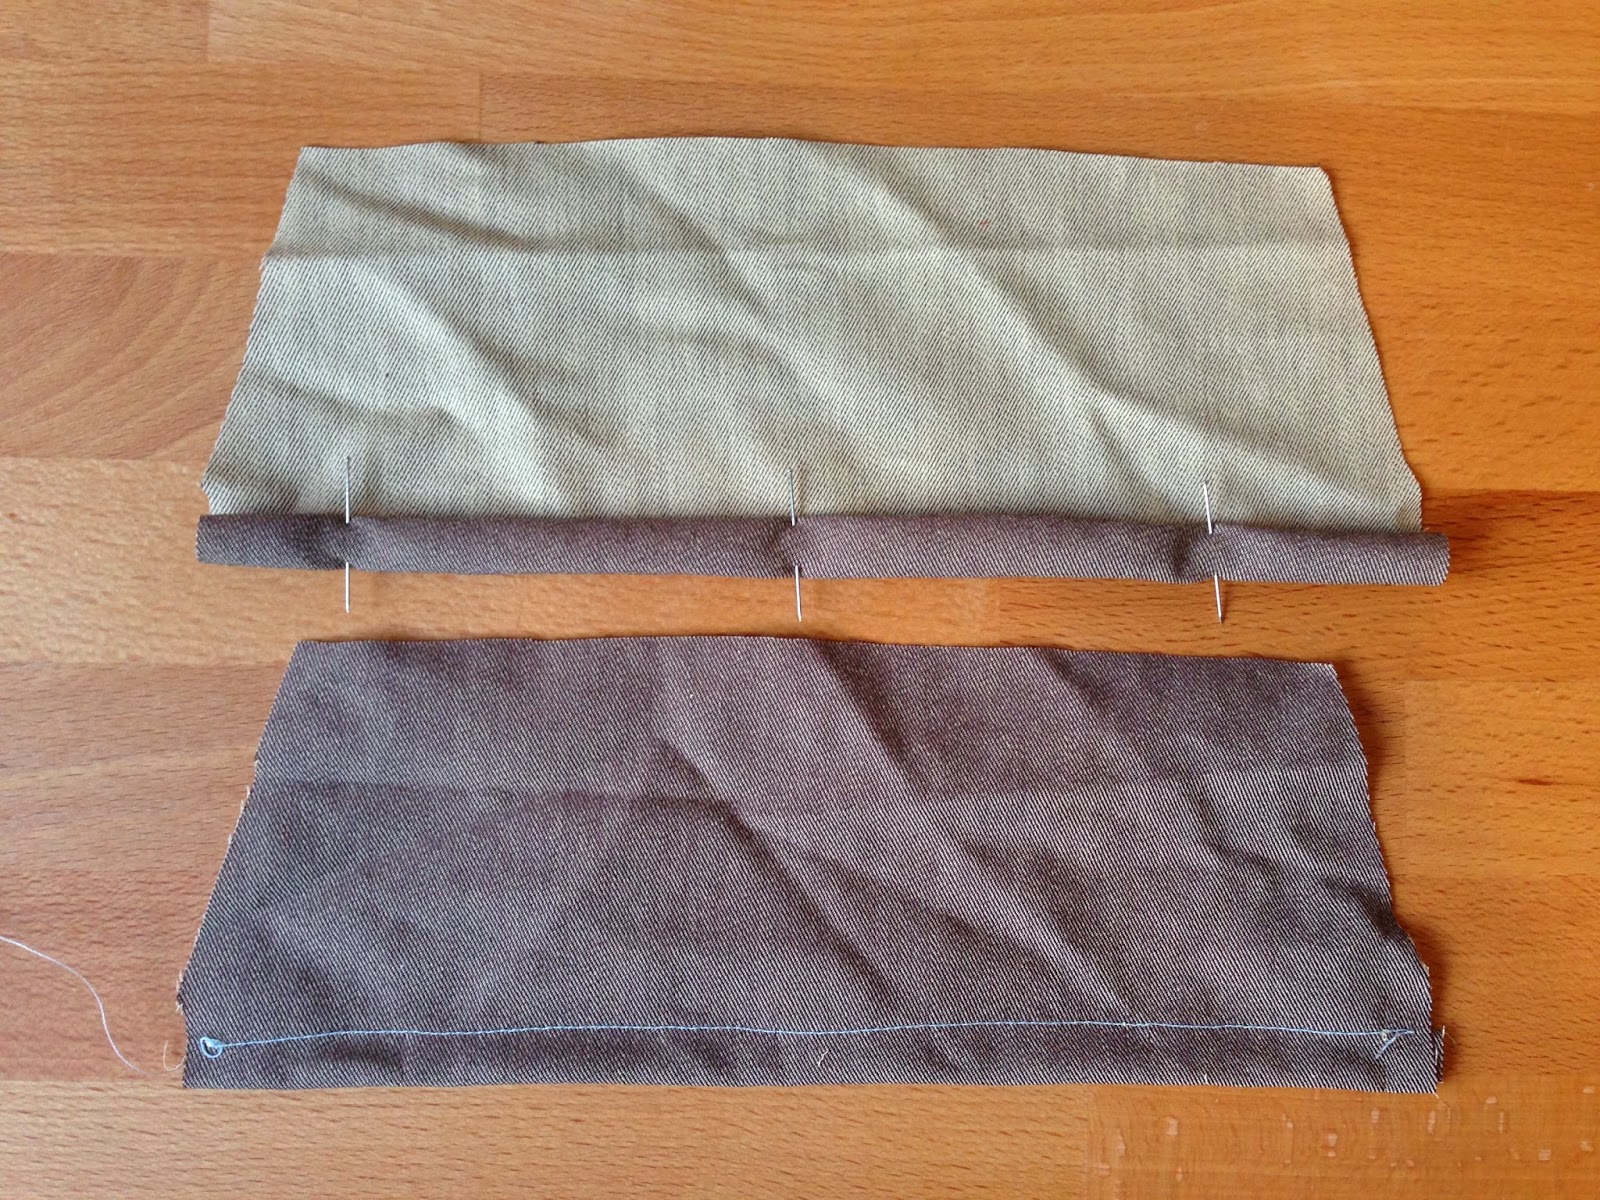
You can now hem both of the cuff pieces, folding over twice to make sure you hide all the raw ends.

I covered my stitching with rick rack,but you could cover it with ribbon, or even just use your machine to do a decorative stitch if you like! Go crazy!
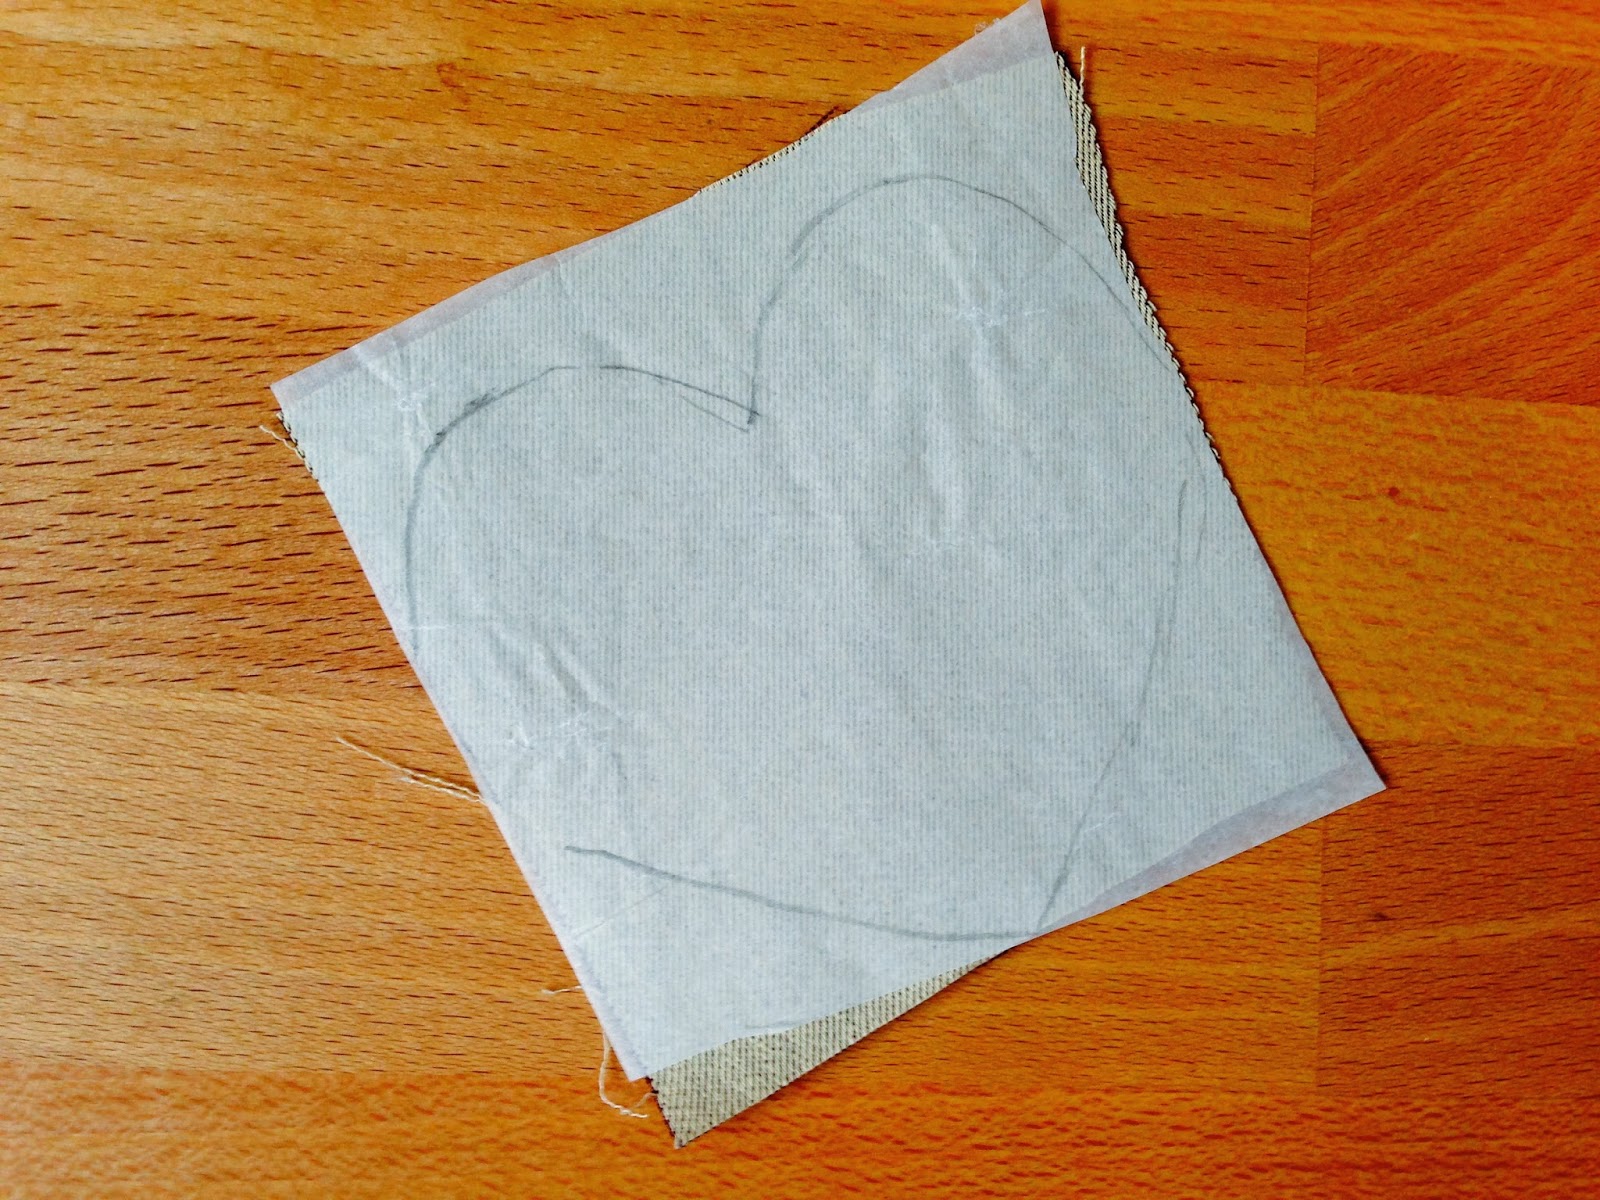
Next you can think about your decoration for the sticking body. I am appliquéing two hearts on this stocking to keep it simple. I always like to use Bondaweb when doing this, as it keeps the fabrics nice and flat, prevents fraying and means you don't have use pins to position and keep the fabric in place while sewing on the machine. If you have got any get some! Bondaweb feels like grease proof paper on one side and the other side it feels slightly rough, the rough side is the glue side that sticks your fabric together.

I find the best thing to do is:
Cut out a square of fabric and Bondaweb in roughly the size of the appliqué piece you want to do.

When you are happy with your design, cut it out, then peel off the paper backing.

Position your deigns on your stocking, the plastic feeling side down. (I just placed my cuff so I could see where they would go)

Then using a medium heat on the iron, iron the fabrics together. The heat will melt the Bondaweb fixing your appliqué pieces in place.

I recommend using a zigzag stitch to go around your designs to fix them permanently in place. A contrasting or matching colour thread works well. Here you can also see the other embellishments I used, wooden buttons hand sewn on, and then a decorative leaf chain stitch on the machine to link the two hearts together.

Next you want to add the cuffs to the top of your stockings (or see alternative method at the bottom of this post) This is not how you would normally join fabric as you want the seam to be hidden under the cuff, not showing in the inside of the sticking. So put both right sides facing up, as in the picture above. The right side of your cuff should be touching the wrong side of your stocking. Then stitch them together. Do this on all pieces.

Now you have attached the cuffs, now put the right sides of the stoking together, and sew from where the cuff joins the stocking all the way round until the cuff meets the sticking on the other side. DO NOT SEW THE CUFF!

In order to get your stocking to turn out a nice curve, you will nee to clip the curvy parts to remove some of the bulk of the fabric. using very sharp scissors, cut little V's in the seam allowance, NOT cutting the stitching. Do this on the heel and the toe.

Next Turn it inside out! Yay! Iron the stocking flat to get it nice and smooth. Now comes the more tricky part, put the right side of the cuff together, might feel a bit lumpy, but smooth it as best you can and then stitch from the top of the cuff (where my fingers are in the photo above) down to where the cuff meets the stocking. Do this to both sides, then turn them down and iron them.

To sew in a hanging loop, I used a length of ribbon and stitched it to the inside side seam of the stoking, just backwards and forwards a couple of times, that way the stitching will not show on the cuff.

TA DA! I hope you are pleased with your finished stocking! Any problems or queries, just comment below and Ill respond as soon as I possibly can!
Have fun and have a
HAPPY CHRISTMAS!
Alternative way to do the cuff:
Do not attach the cuff to the rest of the stocking but sew it on last. To do this, you will need to cut it out, hem it like previously shown, put the cut out cuffs right side together and sew down one side. Then you can add any embellishments you like, ribbons, rick rack etc on one go along where you hemmed. Then put right sides back together, and stitch up the other side. You should then have a loop/ring of fabric made of the completed cuff.
Finish making up the stocking and the last step is to turn the stocking out the right way and put the cuff inside the stocking so that the right side of the cuff is touching the wrong side of the stocking. On the sewing machine, sew the two together around the top. Turn the cuff over the top of the sticking and iron.

No comments:
Post a Comment